
We all know that a HYPERVISOR can only be installed and officially supported in physical servers.
But today I am sharing the tricks to install it on VM, for study and practice purpose only.
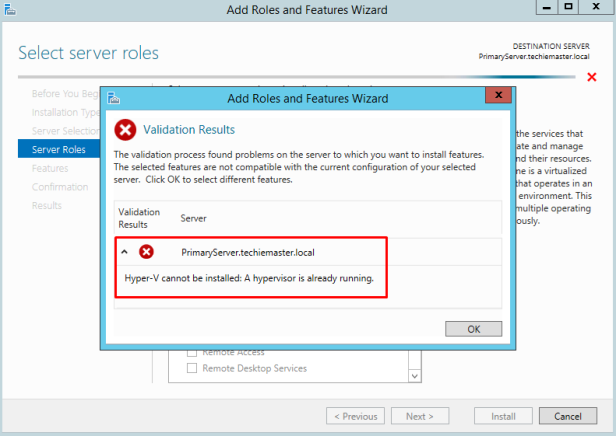
Normally when you tried to install the Hyper-V in Windows Server 2012 through Server Manager probably encountered the following message:
Hyper-V Cannot be installed. A hypervisor is already running.
Now through PowerShell we can install the same role.
Open PowerShell Run as administrator and execute the below command to install Hyper-V role,
Enable-WindowsOptionalFeature –Online -FeatureName Microsoft-Hyper-V –All –NoRestart

As we mentioned norestart, restart is suppressed.
The above command installs only the hypervisor but does not install the administration tools, so you must install RSAT for Hyper-V to do this run the below command,
Install-WindowsFeature RSAT-Hyper-V-Tools -IncludeAllSubFeature

Now Reboot the server.
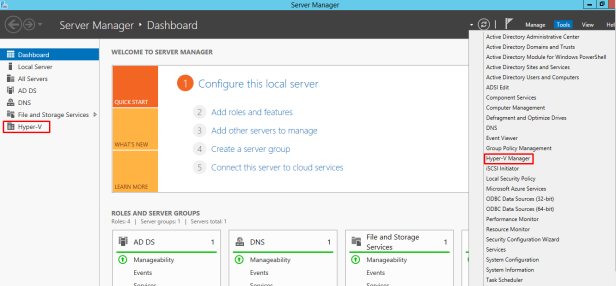
After reboot, we can see the Hyper-V Manager and now I can install VM’s on it.
If you want the Hyper-V clustering then proceed the below steps.
Run the below command to install clustering features,
Install-WindowsFeature RSAT-Clustering –IncludeAllSubFeature

Optionally you can install Multipath I/O to enable multiple paths to the storage for failover clustering. Run the below command,
Install-WindowsFeature Multipath-IO

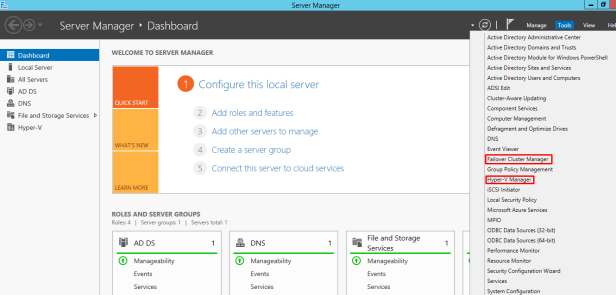
Now again restart the computer and you can see Hyper-V and Failover Clustering in Server Manager.
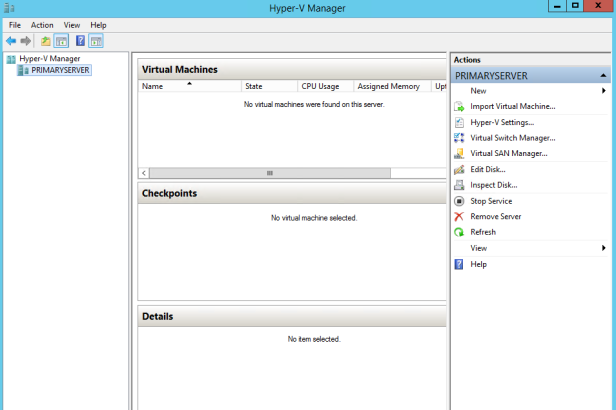
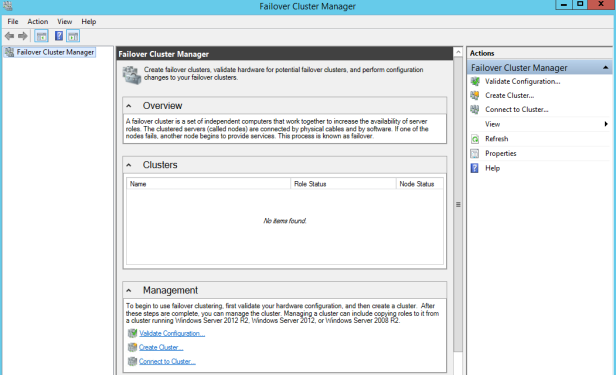
Finally now you can install vm’s on the Hyper-V manager and also you can configure the Hyper-V Failover clustering.
This post will be useful for the lab and self-study purpose.
